


Ever wanted to solve a Rubik's cube? Here's our how to solve a Rubik's cube for beginners guide which will get you started solving the famous twisty puzzle in no time!
Printable Version - Download Link
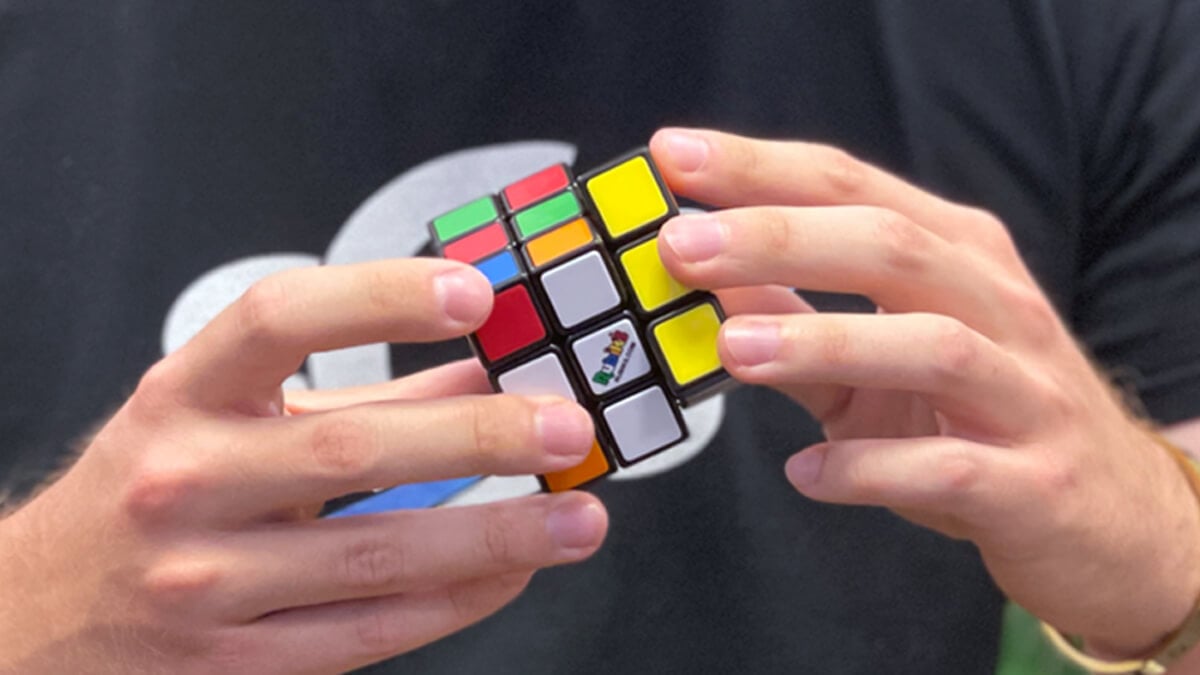
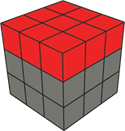
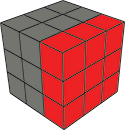
Getting familiar with the cube
| Center pieces have one color each and do NOT move. There are six center pieces. The center piece determines what color each side is. |  |
| Edges have two colors per piece. There are twelve edge pieces |  |
| Corner pieces have three colors per piece. There are eight corner pieces |  |
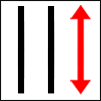
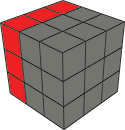
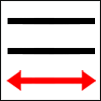
Notation
 |
 |
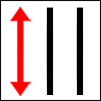
Turn the Up (U) Layer |
 |
 |
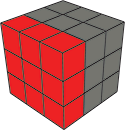
Turn the Right (R) Layer |
 |
 |
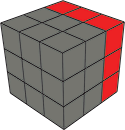
Turn the Left (L) Layer |
 |
 |
Turn the Front (F) Layer |
 |
 |
Turn the Back (B) Layer |
 |
 |
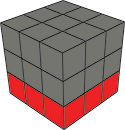
Turn the Down (D) Layer |
Most speedcubes have the same color arrangement as below with white opposite yellow, orange opposite red, green opposite blue. If the colors on your cube do not match, you can still use this guide!


Step 1: Solving the white cross
| Start by creating a flower on the U face. Place four white edge pieces in any order around the yellow center ignoring the position of the corner pieces. |  |
Creating the flower is a mostly intuitive step but here are two tips that will help make it easier!
| If a white sticker is flipped, hold the yellow center on the U face and the flipped edge on the F face |      |
| To move a white sticker to the red location, hold the cube as shown and perform the following algorithm |   |
After completing the flower, turn the U layer until the second color of a white edge matches with a center piece and hold it as shown below. Perform the algorithm below and repeat until there are no white edges around the yellow center.
 |
|
Solving the White Corners
| Hold the cube so that the white center is the D face and the yellow center is the U face. |  |
| Turn the U layer until a white corner is in the position highlighted in red |  |
| If the colors do not match, turn the U layer until you find a white corner that matches | |
| This algorithm will move the corner into the solved position. Repeat this algorithm until the corner is solved. |  |
| The corner is now in the solved position |  |
| Repeat the above steps until all white corners are in the solved position. If there is a white corner in an unsolved position on the D layer you can use the previous algorithm to bring it to the U layer and then proceed as normal | |
| The white layer should now be solved |  |
Solving the Second Layer
| Hold the cube so that the white center is the D face and the yellow center is the U face. | |
||||
| Find an edge piece on the U layer that does not have a yellow sticker |  |
||||
| Turn the U layer until the edge piece matches with a center piece. In this example, the blue sticker on the edge matches with the blue center |  |
||||
| Hold the matched edge on the F face so that it forms an upside down T. Identify the second color on the matched edge and check if it needs to move to the left or right slot. In this example, the second color is orange which needs to go the left slot since the orange center is on the left face. |
|
||||
 Left Swap Left Swap |
  |
||||
 Right Swap Right Swap |
|
||||
|
Flipped Edge If an edge piece is in the correct slot, but needs to be flipped, hold the edge on the right layer and use the right swap algorithm. This will move the edge to the U layer and allow you to resume from the previous step.This can also be used to bring an incorrectly placed edge to the U layer. |
|

Solving the Yellow Cross
After completing the second layer you will have one of the following patterns on the U face.
If you have a yellow cross, move on to diagram 14. If you have any other case hold the cube as shown above to match your case and use the algorithm below.
Repeat the above algorithm until you have completed the yellow cross on the U face.
After completing the yellow cross you will need to turn the U layer to check to see if all the yellow edges are in the solved position, if two are solved, or if none are solved.
Turn the U layer to match up solved edges and identify which case you have. If all yellow edges are solved, move on to the next step. If you have no solved yellow cases or case 1 or 2, use the following algorithm while holding the cube as shown above.
Solving the Yellow Corners
Rotate the entire cube while keeping the yellow center as your U face and check to see which case you have:
|
|
|
|
| Case 1One corner in the correct location but needs to be flipped | Case 2All corners in the correct location but need to be flipped | Case 3One solved corner | Case 4One solved corner, other corners in the correct location but need to be flipped |
Case 5
If now of the yellow corners are in the correct location use the following algorithm to get one of the cases, and you will have one of the 4 cases. For case 1 and 3, hold the cube as shown and use the following algorithm and move the yellow corners into the correct location. For case 2 and 4, proceed with the previous algorithm.
Now all of the yellow corners should be in the correct location but some may need to be flipped to be solved. Turn the U layer to move an unsolved corner into the location highlighted in the red diagram next.
After moving tan unsolved corner to the red location, use the following algorithm until the unsolved corner becomes solved. It may take more than one execution of the algorithm for the corner to solve. If the cube looks scrambled after the corner is solved - don't worry, this is normal! After the corner is solved, continue to hold the cube from the same position and turn the U layer to move another unsolved corner into the red location and repeat the algorithm until the corner is solved. After you do this for all unsolved corners, the cube will be solved!
Congratulations! You've successfully solved the Rubik's cube. Now go show your friends and family your new skill!
You may be wondering where to next? Check our article on the best speed cubes to improve how quick you can solve the Rubik's cube.